When pests show up uninvited, they don’t just disrupt your peace, they multiply fast and cause real damage to your home. Whether it’s termites eating through studs, rodents chewing electrical wiring, or roaches turning your kitchen into their headquarters, pest problems demand swift action. Professional pest control services like Sentinel offer targeted solutions that go beyond what store-bought sprays can handle. But how do you know if professional treatment is worth the investment, and what should you expect from the process? This guide walks through the essentials of modern pest management to help homeowners make informed decisions.
Table of Contents
ToggleKey Takeaways
- Sentinel Pest Control uses integrated pest management (IPM) strategies that combine inspection, identification, targeted treatment, and ongoing monitoring to eliminate infestations at their source rather than applying one-size-fits-all solutions.
- Professional pest control services like Sentinel outperform DIY methods by providing accurate pest identification, commercial-grade products, specialized equipment, and warranties—typically costing $100-$300 per visit but solving problems faster and more cost-effectively in the long run.
- Proper home preparation including clearing furniture, removing pets, sealing food, and fixing water sources increases treatment effectiveness and ensures technician safety.
- Most interior pest control treatments require 2-4 hours of drying time before re-entry, and homeowners should avoid cleaning treated surfaces for 3-5 days to preserve the residual barrier.
- When selecting a Sentinel pest control provider, verify state licensing, insurance coverage, specific experience with your pest type, product details, warranties, and read reviews across multiple platforms to ensure quality service.
What Is Sentinel Pest Control and How Does It Work?
Sentinel Pest Control is a professional pest management service that uses integrated pest management (IPM) strategies to eliminate and prevent infestations. Unlike one-size-fits-all approaches, IPM combines inspection, identification, treatment, and ongoing monitoring to address the root causes of pest problems.
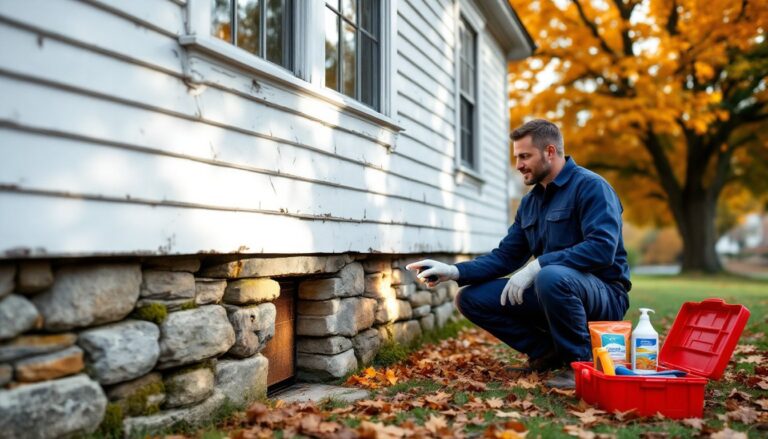
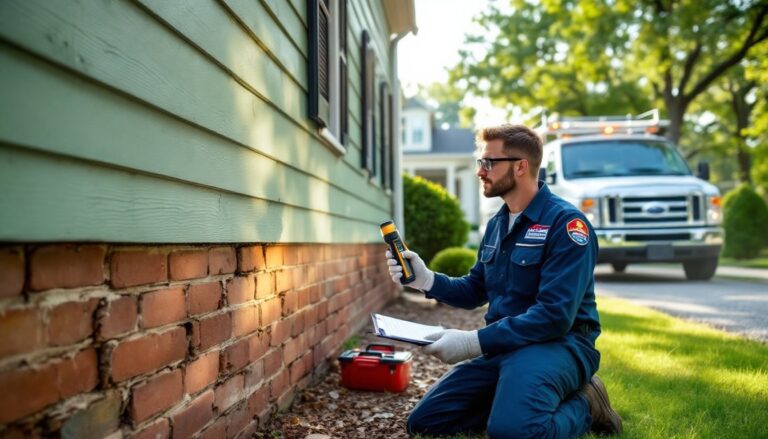
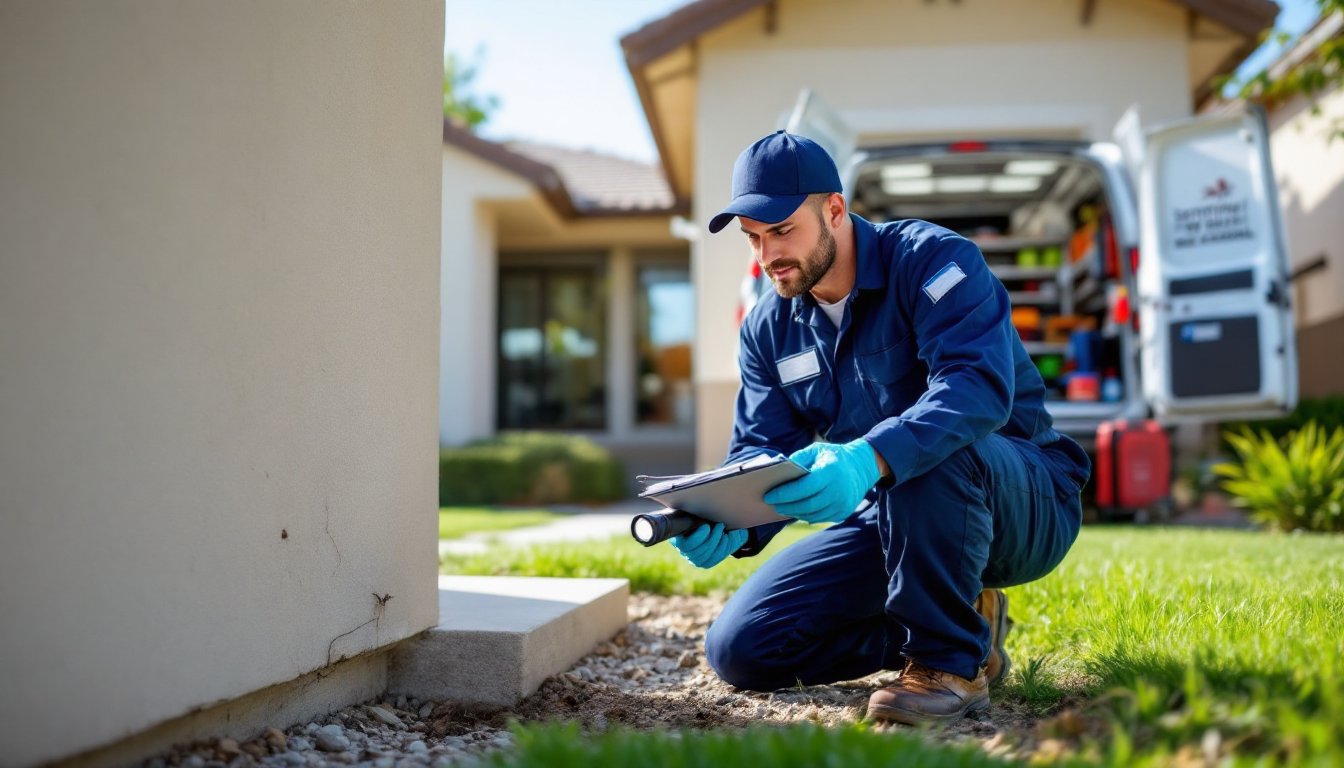
The process typically starts with a thorough inspection of the property. Technicians check common entry points like foundation cracks, gaps around windows and doors, utility penetrations, and attic vents. They also look for signs of active infestations, droppings, nesting materials, gnaw marks, shed skins, and damage patterns.
Once pests are identified, the treatment plan is tailored to the specific species and severity of the problem. This might include baiting systems for ants and roaches, perimeter sprays with residual insecticides, dust applications in wall voids and crawl spaces, or exclusion work to seal entry points. For rodents, snap traps and bait stations are strategically placed along travel routes.
Most professional services also incorporate preventative measures. This includes applying barrier treatments around the foundation, installing rodent-proofing materials like copper mesh or quarter-inch hardware cloth, and advising homeowners on sanitation and landscaping changes that reduce attractants.
Treatments use EPA-registered products that are generally safe for occupied homes when applied correctly, though some require temporary evacuation. Always ask about the active ingredients and safety data sheets if you have pets, young children, or specific health concerns.
Common Pests Sentinel Pest Control Can Eliminate
Professional pest control services handle a wide range of invaders, from minor nuisances to destructive threats. Here’s what they typically address:
Insects:
- Ants (carpenter ants, odorous house ants, pavement ants): Baiting and perimeter treatments disrupt colonies.
- Cockroaches (German, American, Oriental): Require gel baits, dusts, and crack-and-crevice treatments in kitchens and bathrooms.
- Termites: Subterranean termites need liquid termiticides or bait stations: drywood termites may require fumigation.
- Bed bugs: Heat treatments or targeted insecticide applications in bedrooms and furniture.
- Spiders: Treated with residual sprays and web removal: black widows and brown recluses warrant immediate attention.
- Wasps and hornets: Nest removal and preventative treatments around eaves and soffits.
Rodents:
- Mice and rats: Trapping, exclusion, and baiting programs. Rodents can chew through drywall, insulation, and even Romex wiring, creating fire hazards.
Other pests:
- Fleas and ticks: Treated with residual insecticides and insect growth regulators: often linked to pet activity or wildlife.
- Silverfish and firebrats: Found in damp areas like basements: controlled with dusts and moisture reduction.
- Pantry pests (Indian meal moths, grain beetles): Require sanitation, disposal of infested food, and pheromone traps.
Some pests require specialized skills. Termite inspections may necessitate crawling under houses or accessing attics to check floor joists and roof sheathing. Bed bug treatments often involve multiple visits and cooperation from the homeowner to launder bedding and reduce clutter. When dealing with regional pest challenges, local expertise becomes especially valuable.
Benefits of Professional Pest Control vs. DIY Methods
DIY pest control has its place, ant bait stations, mouse traps, and perimeter sprays from the hardware store can knock back minor problems. But there’s a clear line where DIY stops being effective and professional help becomes necessary.
Advantages of professional services:
- Accurate identification: Misidentifying pests wastes time and money. Professionals know the difference between carpenter ants (which tunnel through wood) and pavement ants (which just annoy you on the patio).
- Access to commercial-grade products: Pros use concentrated formulations and application methods unavailable to consumers. For example, professional-grade termiticides last years longer than retail options.
- Specialized equipment: Foggers, power sprayers, dusters, and thermal imaging cameras aren’t part of most homeowner toolkits.
- Safety and liability: Licensed technicians are trained in proper PPE, mixing ratios, and application techniques. They also carry insurance if something goes wrong.
- Integrated strategies: Effective pest management isn’t just about spraying. It includes exclusion, habitat modification, and monitoring, things that require experience to execute properly.
- Warranties and follow-up: Many services offer guarantees and will retreat if pests return within a specified period.
When DIY makes sense:
- Small, isolated problems (a few ants, a single wasp nest you can reach safely).
- Preventative maintenance like sealing cracks with caulk or installing door sweeps.
- Non-toxic methods like sticky traps for monitoring.
When to call a pro:
- Termites, bed bugs, or large rodent infestations.
- Pests that keep returning even though repeated DIY efforts.
- Situations requiring pesticide application in hard-to-reach areas like wall voids or crawl spaces.
- Health risks from venomous spiders, aggressive stinging insects, or rodent-borne diseases.
The cost difference is real, DIY might run $30-$100 per treatment attempt, while professional service averages $100-$300 per visit depending on home size and pest type (costs vary by region and infestation severity). But professionals often solve problems faster, reducing the total expense and frustration. Comparing options across different service providers can help homeowners find the best fit for their needs.
How to Prepare Your Home for Pest Control Treatment
Proper prep work makes treatments more effective and protects your belongings. Here’s what to do before the technician arrives:
General prep (all treatments):
- Clear access: Move furniture away from baseboards and walls (at least 12 inches if possible). Technicians need to spray along edges and inspect behind furniture.
- Remove pets: Relocate pets, their food bowls, water dishes, and toys during treatment. Cover or remove fish tanks and terrariums.
- Store food: Put away open food containers, dishes, and utensils. Cover countertops in treatment areas.
- Vacuum thoroughly: This removes eggs, larvae, and debris that can interfere with treatments. Empty the vacuum immediately into an outdoor trash bin.
- Fix leaks: Repair dripping faucets, leaky pipes under sinks, and condensation issues. Pests need water sources.
For interior treatments:
- Empty cabinets if treating for roaches or pantry pests.
- Wash or bag all clothing, linens, and fabrics if treating for bed bugs or fleas.
- Remove items from closets if technicians need to treat baseboards inside.
For exterior treatments:
- Trim vegetation back from the foundation (keep a 12-inch clearance).
- Move firewood piles at least 20 feet from the house and stack on pressure-treated lumber or concrete blocks, not directly on the ground.
- Clear gutters and downspouts, standing water attracts mosquitoes and provides drinking sources for rodents.
- Seal obvious entry points before treatment with expanding foam, caulk, or mortar, though technicians often handle larger exclusion work.
For termite treatments:
- Clear items stored against the foundation, inside crawl spaces, or in the garage.
- Provide access to attic hatches and crawl space entries.
- Be aware that liquid termiticides may require drilling into concrete slabs or trenching around the foundation, expect some minor disruption.
Safety note: Ask the technician which areas need to be vacated and for how long. Most interior treatments require 2-4 hours of drying time before re-entry. Always wear gloves and a dust mask when cleaning heavily infested areas yourself. For homes with complex layouts, researching approaches used by regional experts can provide additional preparation insights.
What to Expect During and After Service
Understanding the treatment process helps set realistic expectations and ensures you follow through on necessary steps.
During the visit:
The technician will start with a walk-through, asking about problem areas and recent pest activity. Initial inspections take 15-30 minutes for a typical home. They’ll check attics, basements, crawl spaces, and the exterior perimeter.
Treatment time varies, perimeter sprays and interior spot treatments might take 30-60 minutes: comprehensive treatments for termites or bed bugs can run several hours. You’ll likely hear the hum of a pump sprayer and see technicians applying products to baseboards, door frames, window sills, and cracks where pests hide.
For baiting programs (common with ants and roaches), technicians place gel baits or bait stations in discrete locations. They may also apply dust formulations in wall voids by drilling small access holes and using a hand duster, these holes are typically patched afterward.
Rodent control involves setting traps in attics, garages, and along exterior walls. Bait stations go in tamper-resistant boxes to protect non-target animals.
Immediately after treatment:
- Keep people and pets out of treated areas for the recommended time (usually 2-4 hours for interior sprays).
- Avoid mopping or cleaning treated baseboards and surfaces for at least 3-5 days, you’ll remove the residual barrier.
- Don’t be alarmed if you see increased pest activity for 1-2 days. Pests emerge from hiding as they’re affected by treatments.
- Ventilate treated rooms by opening windows once it’s safe to re-enter.
In the following days and weeks:
- Monitor bait stations and traps. Report any that are disturbed or need refilling.
- Expect to see dead or dying pests, this is normal and indicates the treatment is working. Vacuum up dead insects rather than crushing them.
- Watch for signs of new activity. Some pests (like ants) require follow-up treatments as colonies adjust.
- Maintain sanitation: take out trash regularly, don’t leave pet food out overnight, fix new moisture issues.
Follow-up visits:
Most services include quarterly follow-ups or scheduled retreatments. Technicians will inspect, retreat as needed, and adjust strategies. For termites, annual inspections are standard. For bed bugs, expect 2-3 treatments spaced 2 weeks apart.
If pests return between scheduled visits and you have a warranty, contact the company for a free retreat. Document activity with photos if possible. Many homeowners find value in understanding how different services operate to gauge whether their experience is typical.
Choosing the Right Pest Control Service for Your Home
Not all pest control companies offer the same quality, expertise, or value. Here’s how to vet them:
Licensing and certification:
Verify the company holds a valid state pest control license. Technicians should be certified or working under supervision of a licensed applicator. In some states, separate certifications are required for termite work or fumigation.
Insurance:
Confirm the company carries general liability insurance and workers’ compensation. This protects you if a technician is injured on your property or if treatment causes unintended damage.
Experience with your specific pest:
Ask how long they’ve been treating your particular problem. A company with termite experience might not excel at bed bug elimination, and vice versa.
Treatment methods:
Request details on products and techniques. Are they using baits, sprays, dusts, or a combination? What are the active ingredients? Reputable companies will provide this information and safety data sheets.
Guarantees and contracts:
Understand what’s covered. Does the contract include free retreats if pests return? Are there exclusions? How long does the warranty last? Read the fine print, some warranties only apply if you maintain quarterly service.
Reviews and references:
Check online reviews on multiple platforms. Look for patterns in complaints (e.g., missed appointments, ineffective treatments, poor communication). Platforms like HomeAdvisor and other review sites can offer insights into customer satisfaction. You can also check Angi reviews for specific providers to see detailed customer feedback.
Cost and value:
Get quotes from at least three companies. Compare what’s included, initial treatment, follow-ups, warranties, and exclusion work. The cheapest option isn’t always the best. A company offering $50 treatments with no guarantee might cost more in the long run than a $200 comprehensive service with quarterly follow-ups.
Red flags:
- Pressure tactics or “limited-time offers” that require immediate commitment.
- Refusal to provide proof of licensing or insurance.
- Vague answers about products or methods.
- No written contract or warranty.
- Poor communication or unprofessional behavior.
Ask these questions:
- How long will treatment take, and how soon will I see results?
- Do I need to leave during treatment? For how long?
- What prep work is required from me?
- How many follow-up visits are included?
- What happens if the pests come back?
- Is exclusion work included, or is it a separate charge?
Some homeowners benefit from exploring local providers and comparing their approaches. For those interested in the business side, understanding how companies generate new customers can also inform decisions. When evaluating specific brands or methods, consulting resources like Today’s Homeowner can provide additional context on industry standards and best practices.
Conclusion
Pest problems don’t fix themselves, and the gap between DIY attempts and professional solutions is wider than most homeowners realize. Whether it’s termites threatening your home’s structure or rodents creating fire hazards, the right pest control service brings expertise, equipment, and effective products that store-bought options can’t match. By preparing properly, understanding the treatment process, and choosing a licensed, insured provider with solid reviews, homeowners can reclaim their space and prevent future infestations. The investment pays off in peace of mind and long-term protection.